- New build
- Posted
Longford self-build goes certified passive on a budget
Three years ago quantity surveyor Ross Cremin set out from scratch with the goal of self-building a passive house on a site in rural County Longford. Here he tells the story of his project and offers advice for others thinking of building their own passive house.
Once upon a time there was a couple living in the heart of Dublin City, then two became three 44 and three became four so it was time for this family to get out of their small city house and go on an adventure: relocating to the countryside and building a house.
It was 2012, the depths of the recession, and my wife and I were both self-employed with a house in negative equity — not the bank’s favourite customers. But we decided to move from Dublin to the drumlin country around the Longford-Cavan border, where I had bought a derelict cottage on one acre fifteen years previously (never thinking I’d be raising a family there).
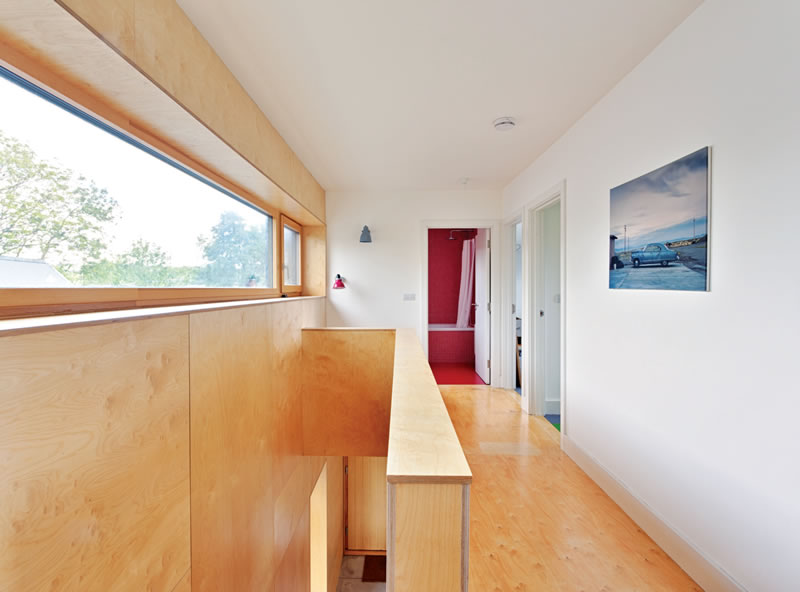
We wanted a house that would be bright, healthy, draught free, warm in winter and with low running costs. We wanted it to be future proofed against changes in building regulations and rising energy costs. Great indoor air quality would be a bonus too. We begged, borrowed and stopped short of stealing and had a budget of €150,000 to start with. The dream was to build a certified passive house combined with separate office/guest accommodation, plus a shed. I did say dream.
So could it be done, and how did we get on? Being a quantity surveyor, I had a good idea what building a passive house would involve, although I had never worked on one directly.
But I was very curious, and having studied further it seemed like the obvious road to take. But would it cost more, and how much more? My training and work taught me that any additional costs must provide an economic benefit — would a passive house achieve this?
We employed an architect (the ever patient and meticulous Sarah Cremin from CAST Architecture, who joined us on the steep learning curve) a passive house consultant (Archie O'Donnell of Integrated Energy) and a project manager. A word of advice for anyone tempted to tread similar water: hire professionals, ideally with passive house experience and ideally from project conception. It may feel like a big overhead at the time, but it pays off in the long term. Having a project manager on board was a great success, one of my better decisions. He ultimately brought the house up to a weather-tight shell and I took over from there.
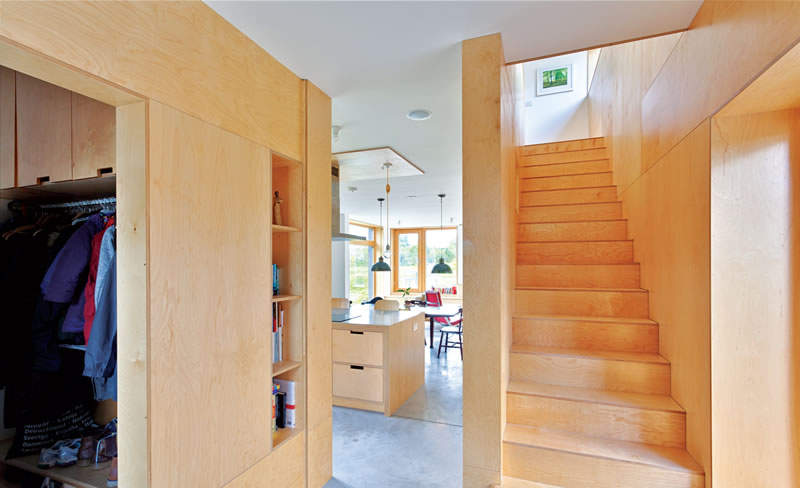
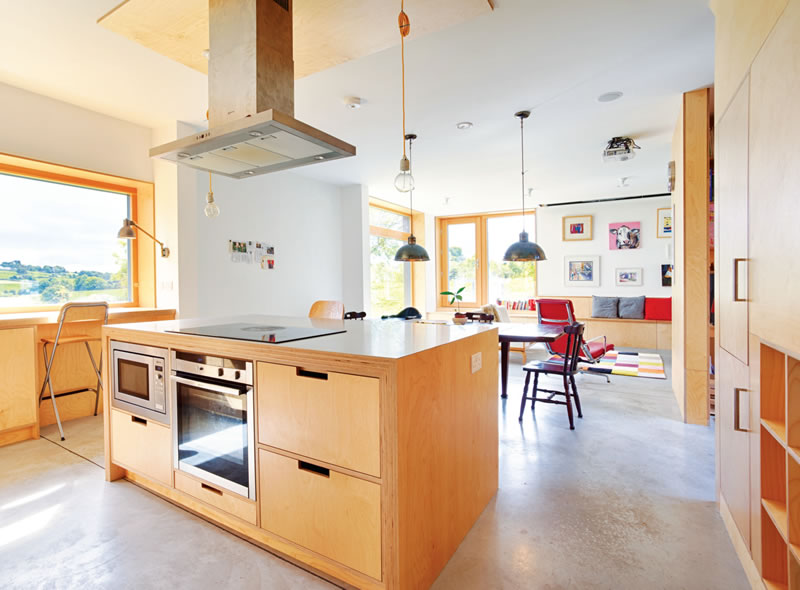
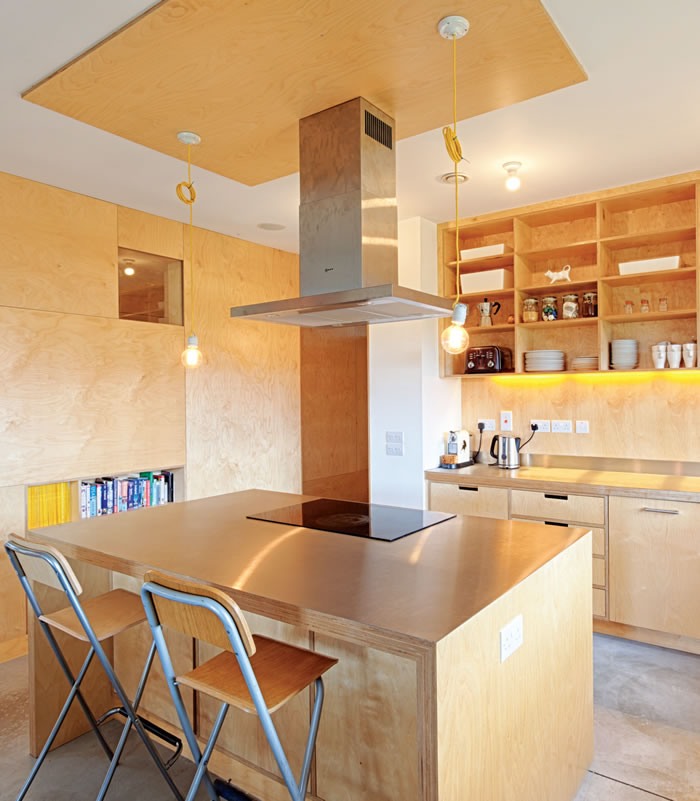
Birch plywood was used extensively in the interior for the stairs, kitchen and some walls
We built the timber frame on site ourselves. But the build took us two years, partly due to our budget deficit, which we saved as we went along. There were plenty of stressful moments —a baby being born, two businesses to run, getting to grips with the many decisions a new build brings, not to mention the passive element. It felt like I was endlessly researching the details, components and finishes of the house, bordering on the obsessive. My wife began to think I was suffering from passive compulsive disorder, but I told her she was just being passive aggressive. You can see how the two years were a little stressful.
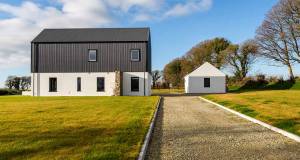
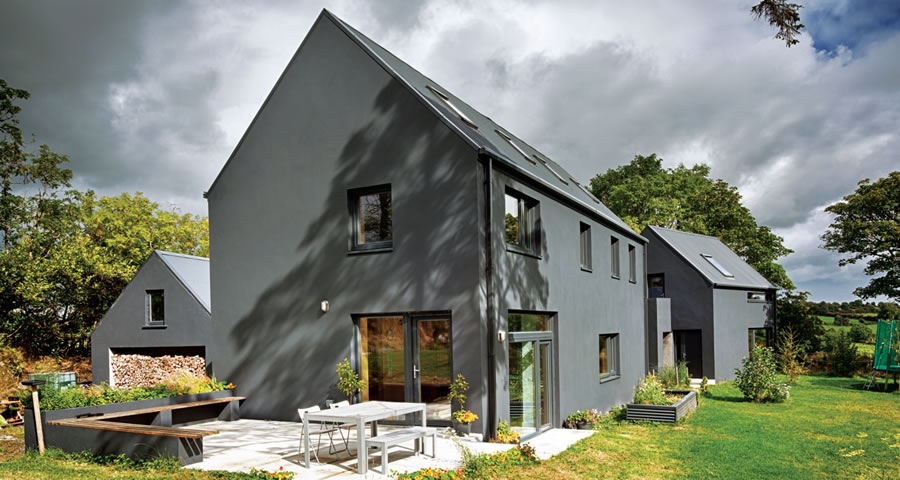
The finished house is of a relatively simple design, or as an architect might say, a “modern interpretation of the vernacular”. Most of the rooms have southerly aspects and so are bright and warm. This design facilitated meeting the passive house standard, and luckily our orientation also faced south and the best view. The only major change we had to make to the design was to reduce the windows slightly on the north elevation. It’s not a big house by any means at 150 square metres, but we’ve made maximum use of the space.
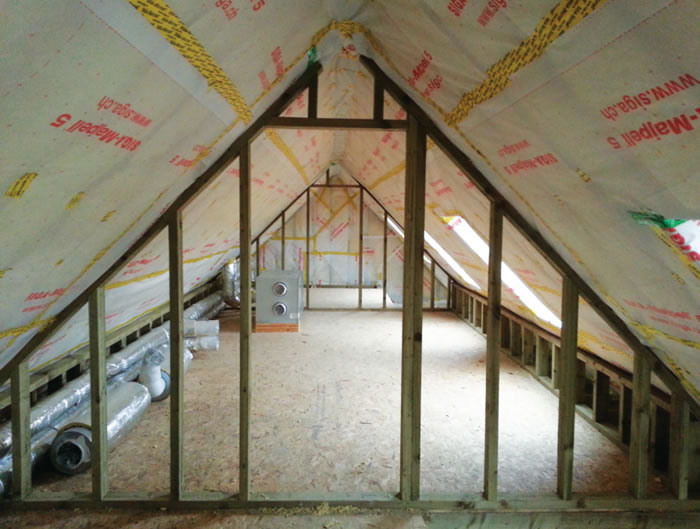
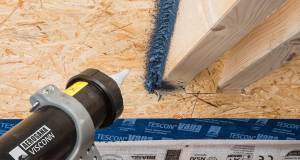
Low-energy features of the build include Siga Majpell membrane for airtightness in the roof
The timber frame sits on a raft foundation and has a plastered blockwork rain screen. We chose timber frame as we felt it was simplest to make airtight and minimise thermal bridging. The entire outer envelope (walls and roof) is clad in 50mm PIR board to cut cold bridges. Continuous insulation to the entire thermal envelope of the house is the most effective way to reduce heat loss. The 220mm timber frame is fully filled with mineral wool and the service cavity inside is also filled with mineral wool — this is the same for the walls and roof.
There’s nothing unusual about the build except maybe that we built the timber frame on site. We used corrugated iron for the roofing, which saved a considerable amount of money, but we also like the look of it. The gutters and down pipes are all pressed out of the same material. We used birch plywood extensively in the interior — window liners, stairs, kitchen, flooring and panels to some walls. The finished floor on the ground floor is power floated concrete with a dry shake floor hardener sprinkled in at 5kg per square metre, and then sealed. It’s a poor man’s take on polished concrete.
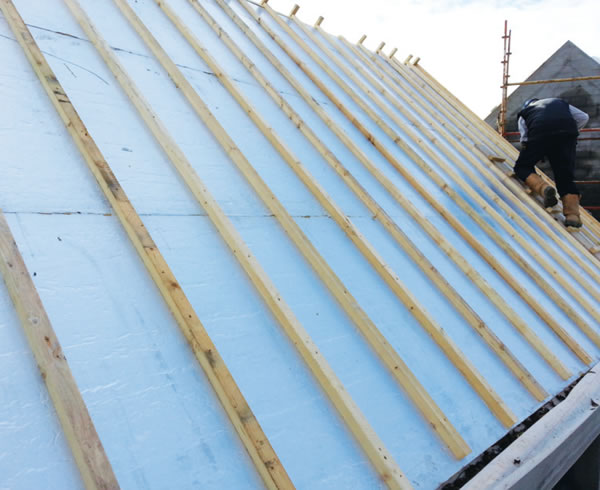
50 mm Quinntherm PIR insulation under the roof battens
We found the design of the heating system the most challenging part of the build, with so many options and systems available. It seemed that there was something new coming along every week. My project manager got frustrated with my indecision as I kept changing my mind.
The core issue that confused us most was the concept that, with a passive house, there is no need for a conventional heating system. Could we build a house in Ireland without central heating? Everyone has their own opinion and everyone is an expert. I was advised by many people to put radiators or underfloor heating throughout the house “just in case”, but in my mind this defeated the whole purpose of a passive house. I had read many stories in this magazine of homeowners putting in underfloor heating “just in case”, and then never using it. Also, is it ingrained in our Irish psyche to feel the need to sit on radiators or at least be able to touch and see them?
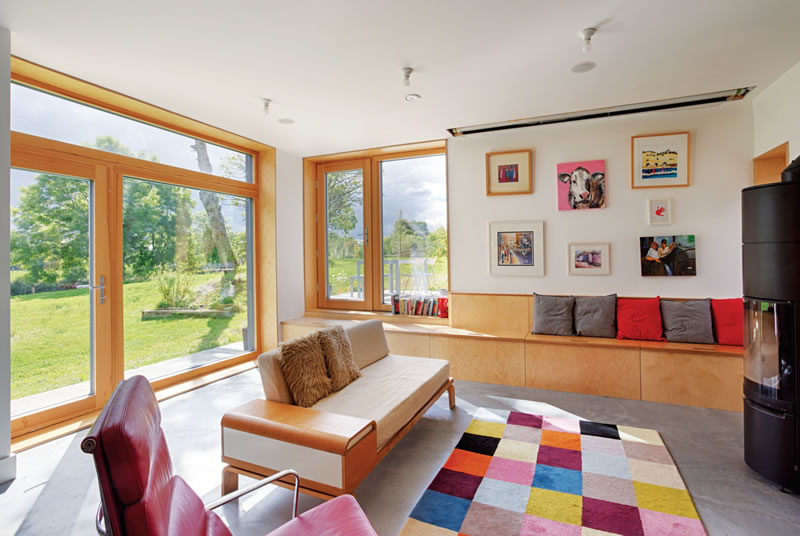
In the end, after many meetings, trades shows, hours spent online, house visits, consultations, and articles read in this magazine, we decided to trust in PHPP (the passive house design software) and the passive house design process. Keeping it simple is never more important than when building a passive house. We now have a wood burning stove that heats our large open plan ground floor and also provides all our hot water needs during the winter. Most of the stove’s energy (5.4kW) goes to heating the water, with only 2.6kW used for space heating.
The stove has been phenomenal. Its 230 kg of German engineering is quite imposing in the living room. It is room air sealed with a DIBT certificate (German Institute of Building Technology).
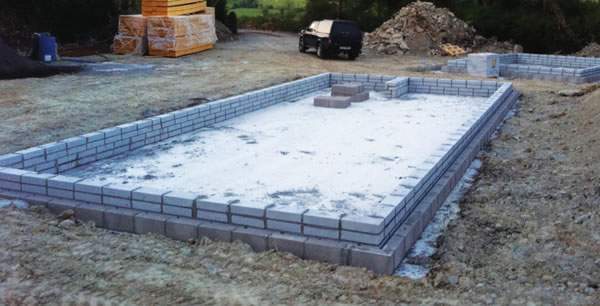
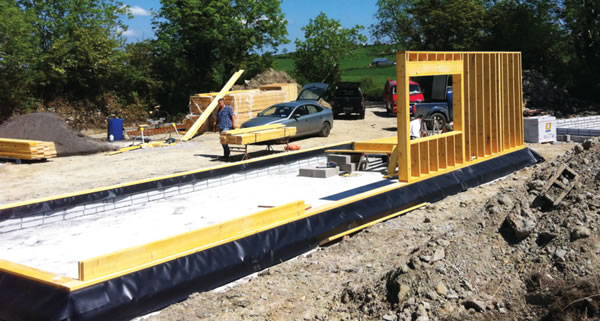
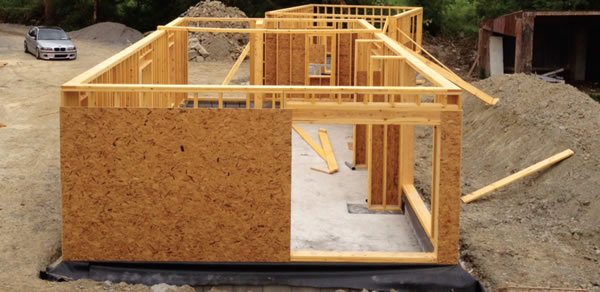
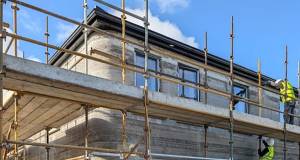
Various stages of construction showing the inner leaf of the rising wall, which consists of low thermal conductivity Quinn Lite blocks, and erection of the timber frame, which was built on site and insulated externally with Quinntherm
It’s a pleasure to use and lighting it is one of my favourite parts of a winter day. We only had to clean it out once during all of last winter, and even then there was only a quarter bucket of ash.
The heating system was substantially cheaper than for a conventional build, with the stove being the most expensive component. There are no touch screen control panels, smart phone apps or automation sequences. We saved the bells and whistles for the home entertainment system. Many people, including some of the professionals, were surprised by the “risk” we took by going down this minimal route. But there is simply no need for central heating in a passive house.
I really wish we had known this from the outset —it would have simplified the design process and saved a lot of time and hassle. To people embarking on a passive build, my advice is to trust the process and PHPP. You’re not going to be cold.
We also chose to avoid any “green bling”, as it seems to be referred to these days. We have no heat pumps, solar panels or rainwater harvesting. I feel that by building to the passive standard, we have reduced our energy demand to such a low level that we’re already making a much smaller impact on the environment.
We use wood sourced locally to produce hot water and the little heat that we need in winter. Summer hot water is produced by the immersion heater which comes on for one hour each day. The sums for solar thermal panels didn’t balance for me financially.
We’re in the house just over a year and quite honestly it has been a pleasure. At Christmas we had no cold room to keep the turkey in for St Stephens Day so we had to put it out in the car. The MVHR (mechanical ventilation with heat recovery) is also very impressive – we’re all sleeping brilliantly and if the lamb chops burn then we can quickly get rid of the smell.
We’ve put an extract vent in the hot press and clothes dry very quickly. The house's acoustics are also excellent — we’re always startled when someone knocks on the door as we never hear cars arriving. We experienced a little overheating in August when temperatures inside reached 24 or 25C, but this was relieved by opening windows. We are planning to put sliding shutters over the windows for shading eventually, but it keeps getting put on the long finger.
In the end, we built the house for €187,000. This excludes the architect’s fee and the sewage treatment works, but includes Vat. Once Vat is deducted, the cost comes down to circa €165,000, which works out at €1030 per sqm. To put that in context, a comparison to the Bruce Shaw Partnership's 2015 handbook is illuminating. The book doesn’t include costs for a detached self-build house, but we can get a rough idea by comparing to the average cost range for an estate house of circa 100 sqm. The book lists a cost range – excluding Vat and professional fees – of €1050-1300 per sqm.
The windows and mechanical ventilation were substantially more expensive than their nonpassive certified competitors. I struggled with this as the financial payback was questionable. I had no difficulty with the extra insulation and airtightness required, as the benefits were obvious. But the quality of the windows and MHRV are both superb, and both of these components have come down in price in the few short years since we have built our house.
This project is still a work in progress. As I write this article, we have started fitting out the office/guest house, which we have built to the exact same standard. When doing the groundworks we fitted an insulated pipe to deliver hot water from the main house, and we’ve installed a de-centralised Lunos MVHR unit from Partel in Galway here too.
Has it been a “happily ever after” for this gang of four and was it worth the extra cost? Yes and yes. We are living in an amazingly efficient, comfortable home. So far so good as we start into our second autumn, which beckons blackberry picking season around here.
Client: Ross Cremin
Architect: Cast Architecture
Passive house consultant: Archie O’Donnell
Passive house certifier: Mosart
Roofing: CPF Profiles Ltd
Electrical contractor: Smartheat
Main contractor / timber frame: Self-build
Mechanical engineer: Sean Magee
Civil/structural engineer: AFM Consulting Engineers
Project manager: Edward Rooney
Mineral wool insulation: Isover Ireland
PIR insulation: Quinn
Windows: True Windows
Insulated foundations: Kingspan
Airtightness products: Siga
MVHR: Beam
Decentralised MVHR to guesthouse/office: Partel
Stove: Spartherm
Flue: Poujoulat
Additional info
Building type: 160 sqm two-storey timber frame detached house
Location: Co Longford, Ireland
Completion date: April, 2014
Budget: €187,000 (incl of Vat & PH certification, excl of architects’ fee and sewage works)
Passive house certification: Certified
Space heating demand (PHPP): 15 kWh/m2/yr
Heat load (PHPP): 10 W/m2
Primary energy demand (PHPP): 101 kWh/m2/yr
Airtightness: 0.63 ACH at 50 Pa
BER: N/A yet
Thermal bridging: Entire timber-frame envelope insulated externally to cut thermal bridging
Ground floor: 300 mm concrete slab insulated with 300mm Aerobord platinum EPS 100. U-value: 0.112 W/m2K
Walls: Plasterboard internally, followed outside by 100mm service cavity, 220 mm timber stud insulated with high density Isover Metac, 50 mm Quinntherm PIR outside the timber studs, ventilated studs, external blockwork rain screen. U-value = 0.102 W/m2K
Roof: Corrugated metal roofing externally on counter battens, on Balaroid breather felt, on battens, on 50 mm Quinntherm PIR insulation, on OSB, on 220 mm timber rafter insulated with high density Isover Metac mineral wool, on Siga Majepall membrane and tapes with an internal service cavity of 100 mm also insulated with Metac. U-value = 0.103 W/m2K
Windows: Gutmann Mira Therm 08 — PH78 PHI certified timber aluclad windows with insulated timber frames. Overall U-value = 0.80 W/m2K. Planilux glazing with low-e coatings and argon fill. Ug-value = 0.7 W/m2K. G-value = 62 %.
Front door: Moralt Ferro Passiv PHI certified insulated timber door. Overall U-value = 0.8 W/m2K
Roof windows: 4 x Keylite Futuretherm tripleglazed roof windows. Overall U-value: 1.0W/m2k
Heating system: 8 kW Spartherm Ambiente A4 H20 room sealed wood burning stove with integrated heat exchanger to heat 300L buffer tank and three radiators (one in each bathroom). 2.6 kW to room, 5.4 kWh to tank. 88% efficiency. Certified airtight by DIBT. Poujoulat flue system with external air intake in insulated sleeve to prevent condensation and damper to close air duct when not in use.
Ventilation: Dantherm HCH 8 heat recovery ventilation system installed within the thermal envelope, brings in fresh air to all living rooms and extract from all wet rooms. Passive House Institute certified to have heat recovery rate of 83%
Image gallery
-
 038 100 Rev 4
038 100 Rev 4
038 100 Rev 4
-
 038 101 Rev 2
038 101 Rev 2
038 101 Rev 2
-
 038 200 Rev 3
038 200 Rev 3
038 200 Rev 3
-
 Site plan
Site plan
Site plan
https://passivehouseplus.co.uk:8443/magazine/new-build/longford-self-build-goes-certified-passive-on-a-budget#sigProId70124fddbe


